1.7.0• Workspace user permissions

Workspaces now have customizable user permissions. By default, any workspace previously created is accessible to all users, until changed. Going forward, new workspace creation includes specifying which users have access.
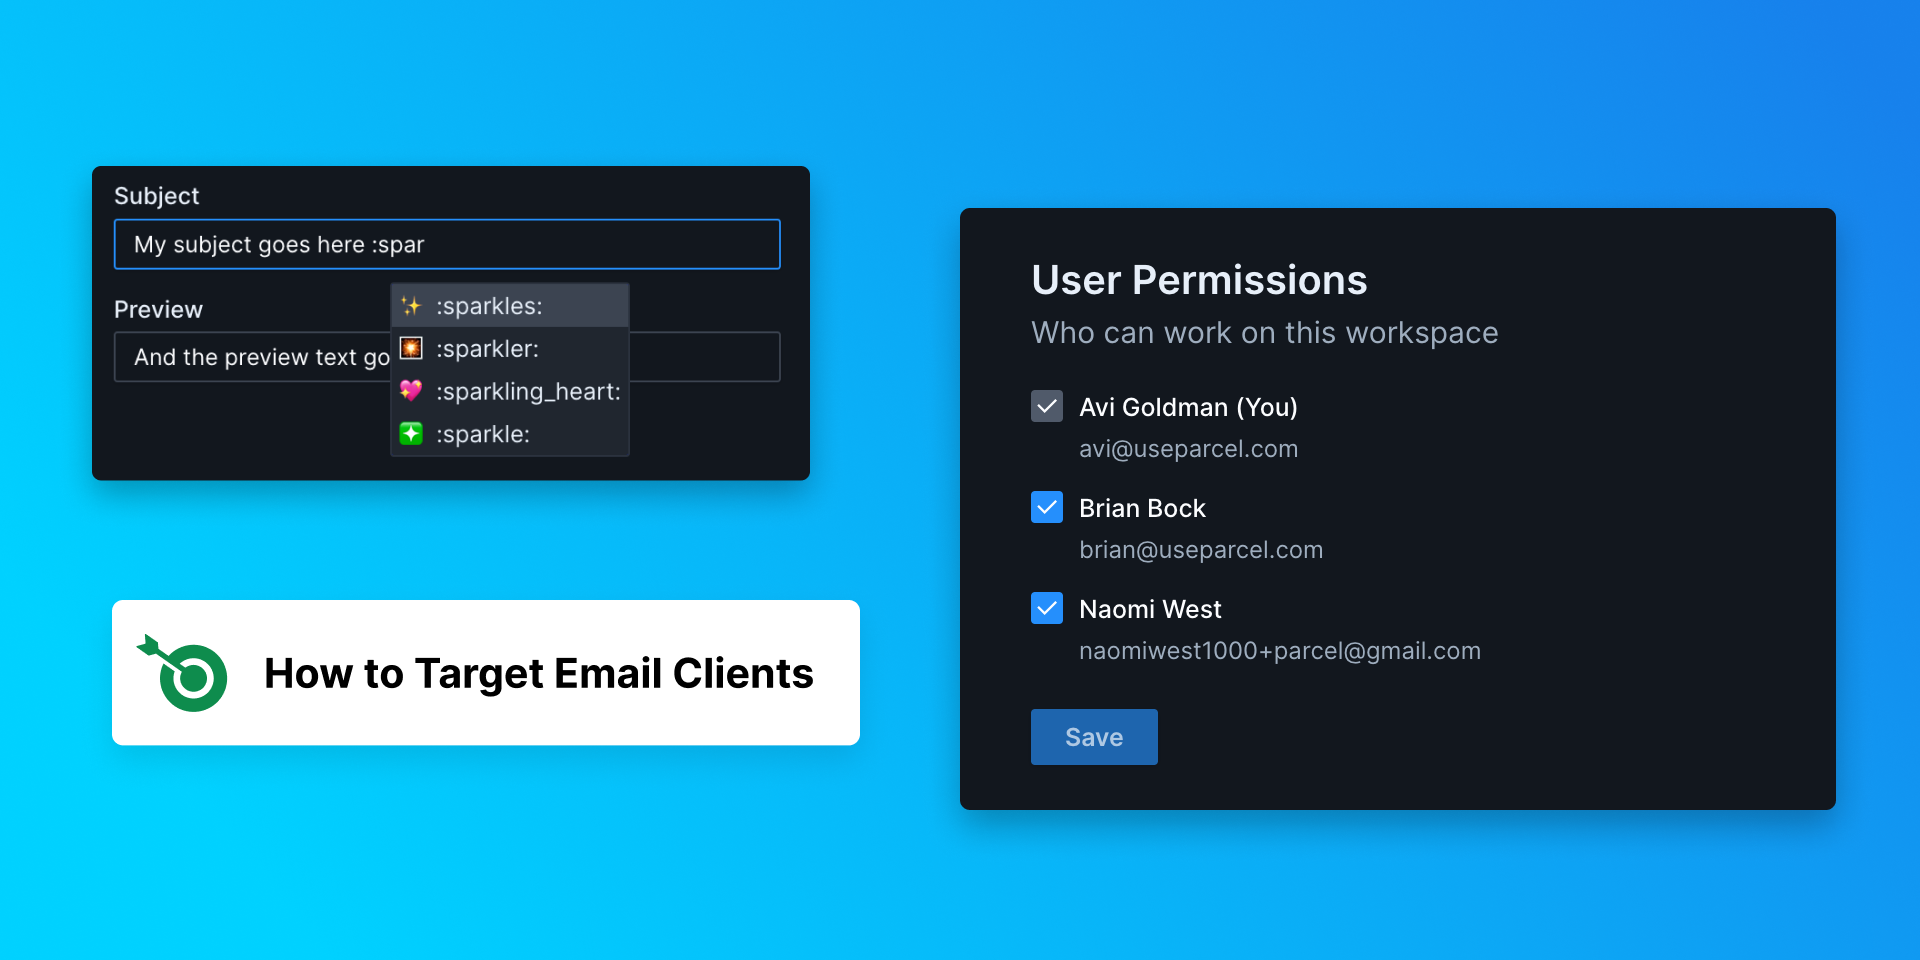
Admins can add or remove users (including other admins) from workspaces. Navigate to the workspace settings page by opening the workspace menu and selecting Edit workspace. Admins will see a checklist of users. Checked users already have access to the workspace. Check/uncheck any user to add them to/remove them from the workspace, and then hit Save. You cannot remove yourself from a workspace. Admins can only edit workspaces they already have access to.
To see the list of workspaces on your account, admins can go to the workspace overview page. Each workspace you have access to will have it's name listed. If you do not have access to any of the workspace(s) on the list, it'll be listed as 'Anonymous Workspace'. You can see the names and email addresses of each user assigned to that workspace.
Any orphaned workspace without any users assigned will have a Claim button. Click this button to add yourself to the workspace and recover it from the void. If you are unable to claim an orphaned workspace, please contact support.
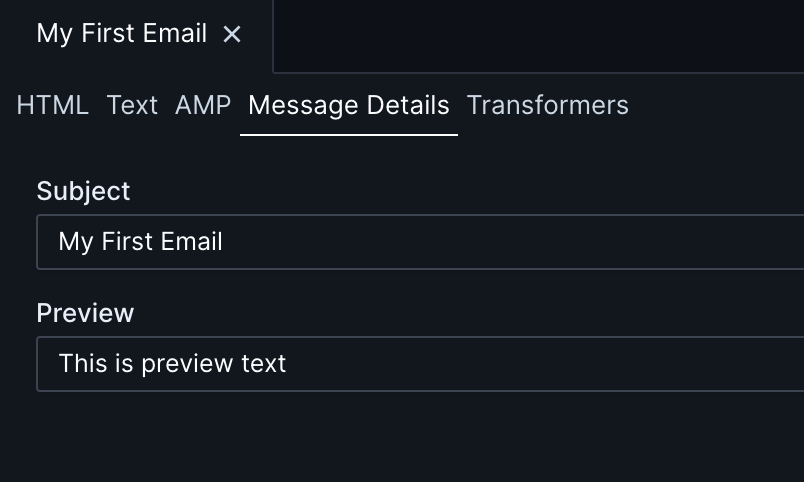
The editor has a new tab for message details, where you can update the subject and preview text.

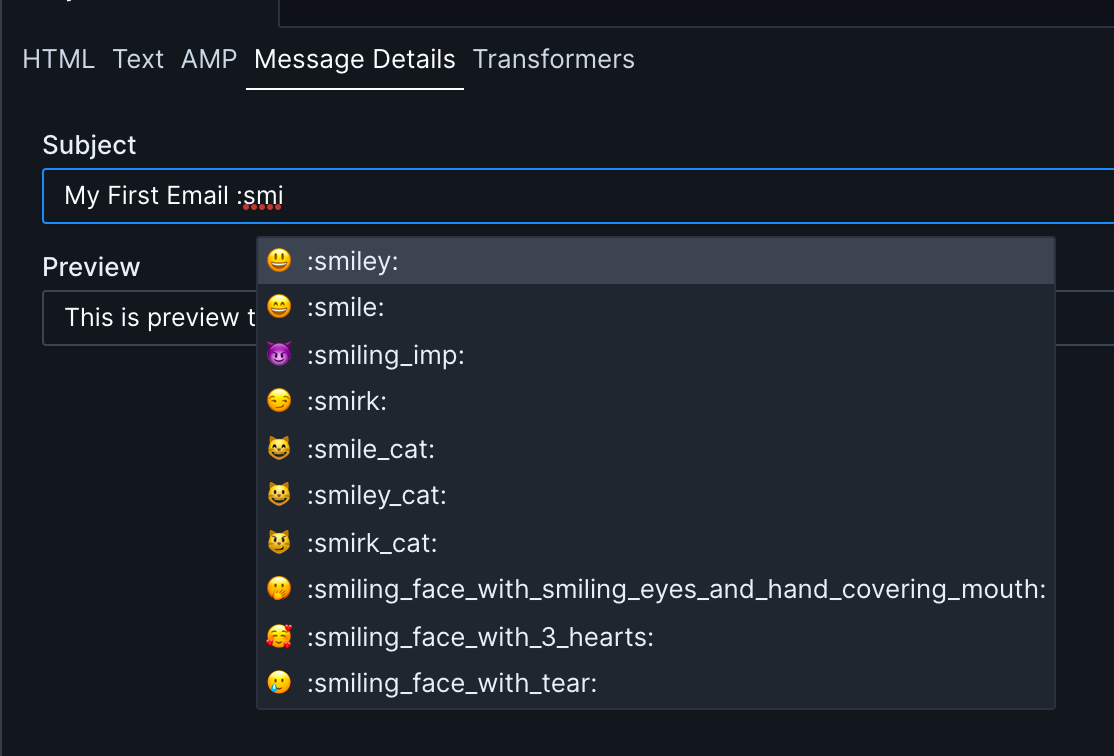
Subject lines (either in the Message Details tab or Send Test) now support emojis. Type : and the name of the emoji. As you start to type, emojis will be suggested - select the option you want with the either cursor or arrow keys and tab. Click here for a full list of possible emojis.

- Sponsored howtotarget.email
- Self closing tags (like
<br>) no longer autocomplete a closing tag - Fixed an issue where the initial workspace was not properly defined